Step-by-step manual for end users
This guide explains the main screens of Aulex Tienda and Aulex Customer with concrete steps and real screenshots. Use it as a practical reference for daily store work and customer ordering.
Aulex Tienda manual
For checkout, inventory, and daily store operations.
- 1
Sign in with the store account
The first screen asks for the store user and password. You can also switch language before entering.
- Enter the email or username in the first field.
- Enter the password and tap the main login button.
- If needed, switch ES / EN / RU before signing in.
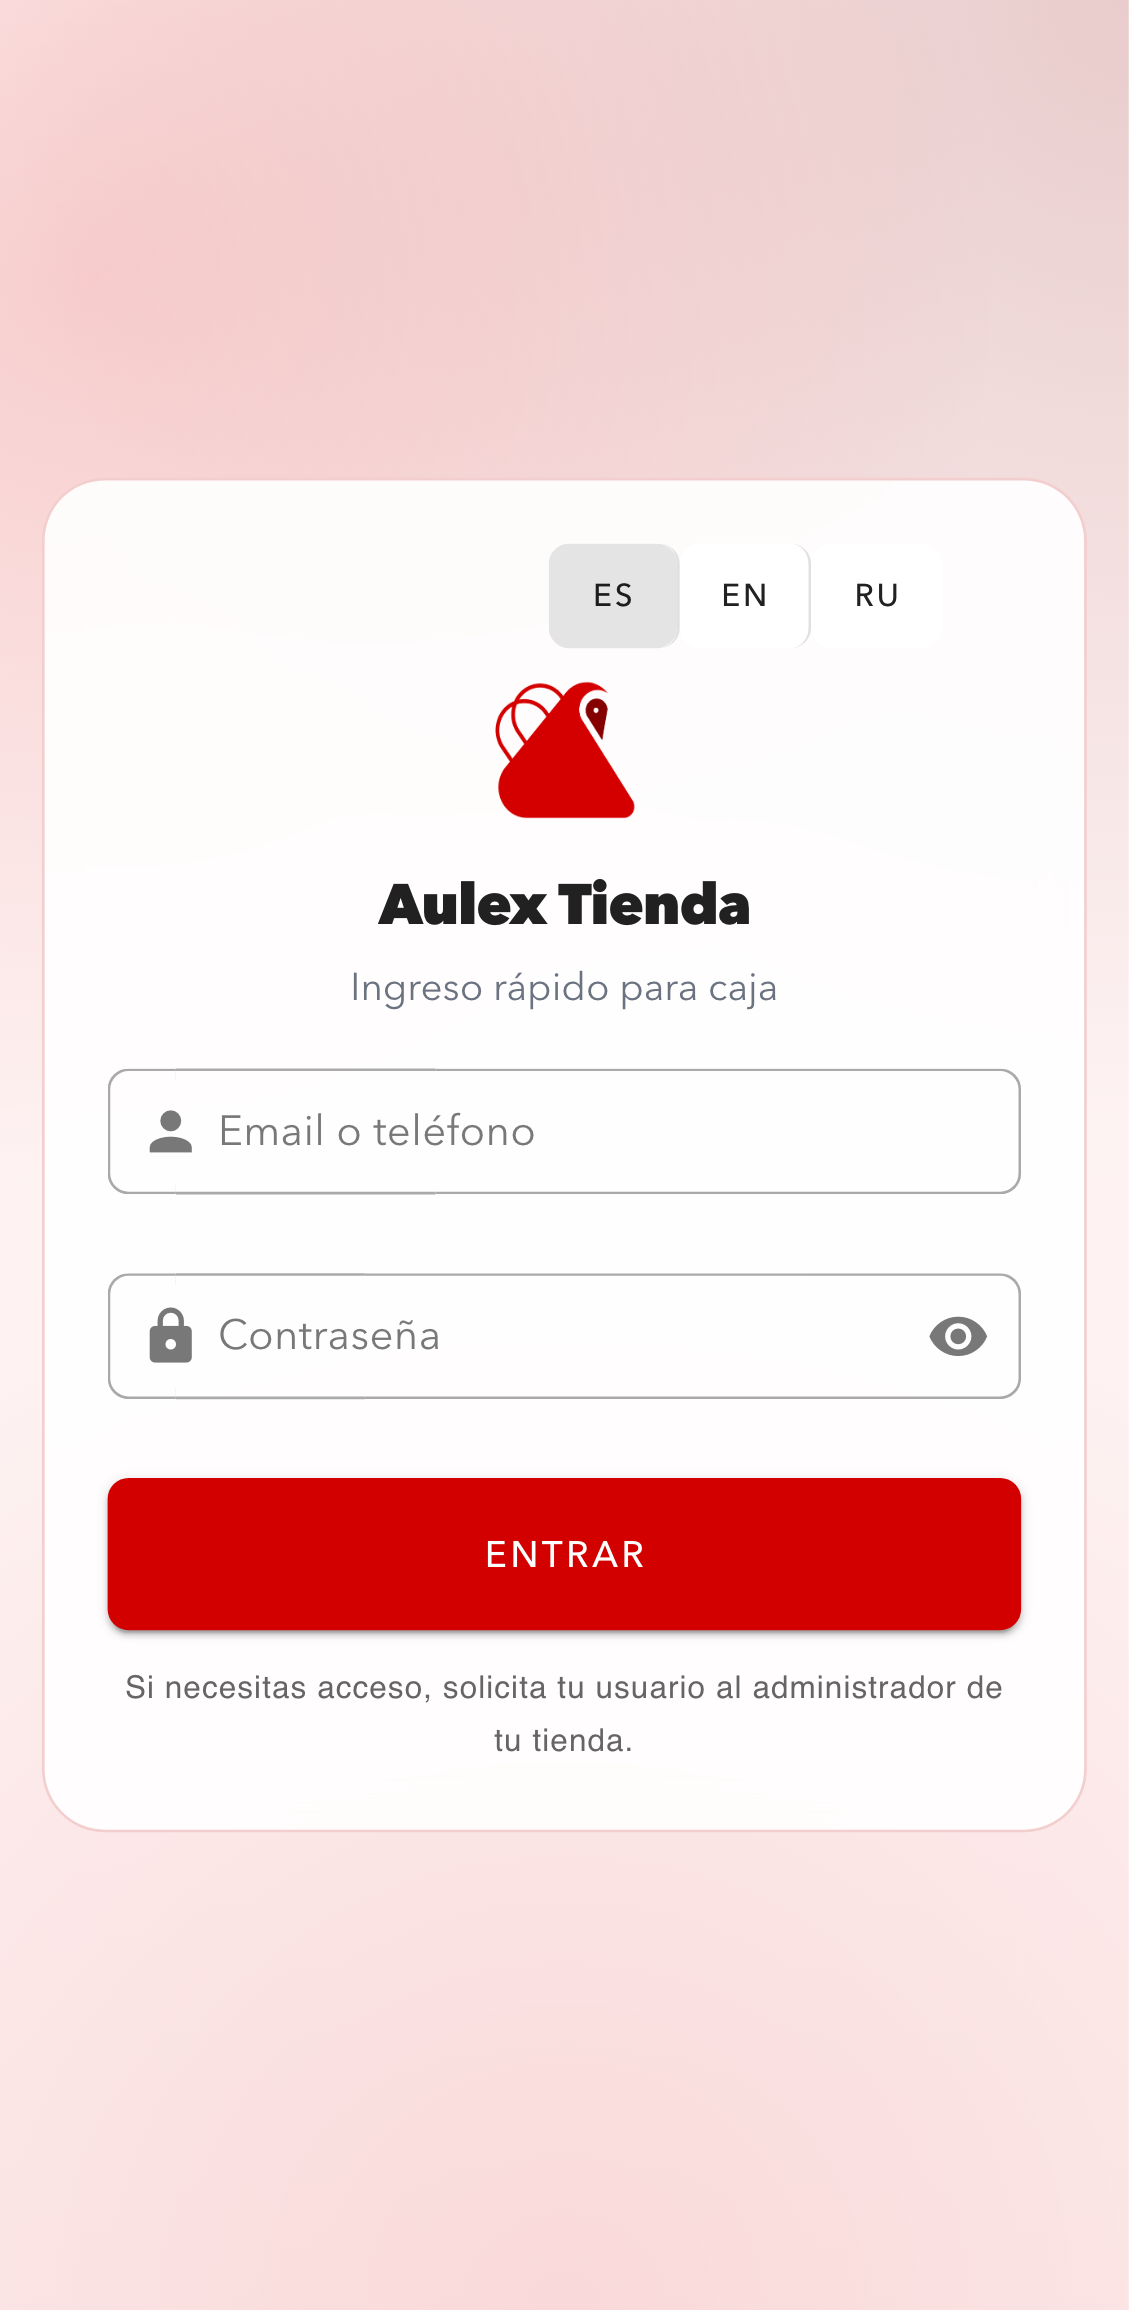
Login screen with language selector, identifier field, password field, and primary sign-in button. - 2
Review the main dashboard after login
After sign-in, the app opens the daily dashboard. This is the first place to confirm you are in the correct store workspace.
- The top summary shows sales, estimated profit, and pending credit.
- The bottom navigation leads to Home, Sell, Orders, and More.
- Use this screen as the daily starting point before serving customers.
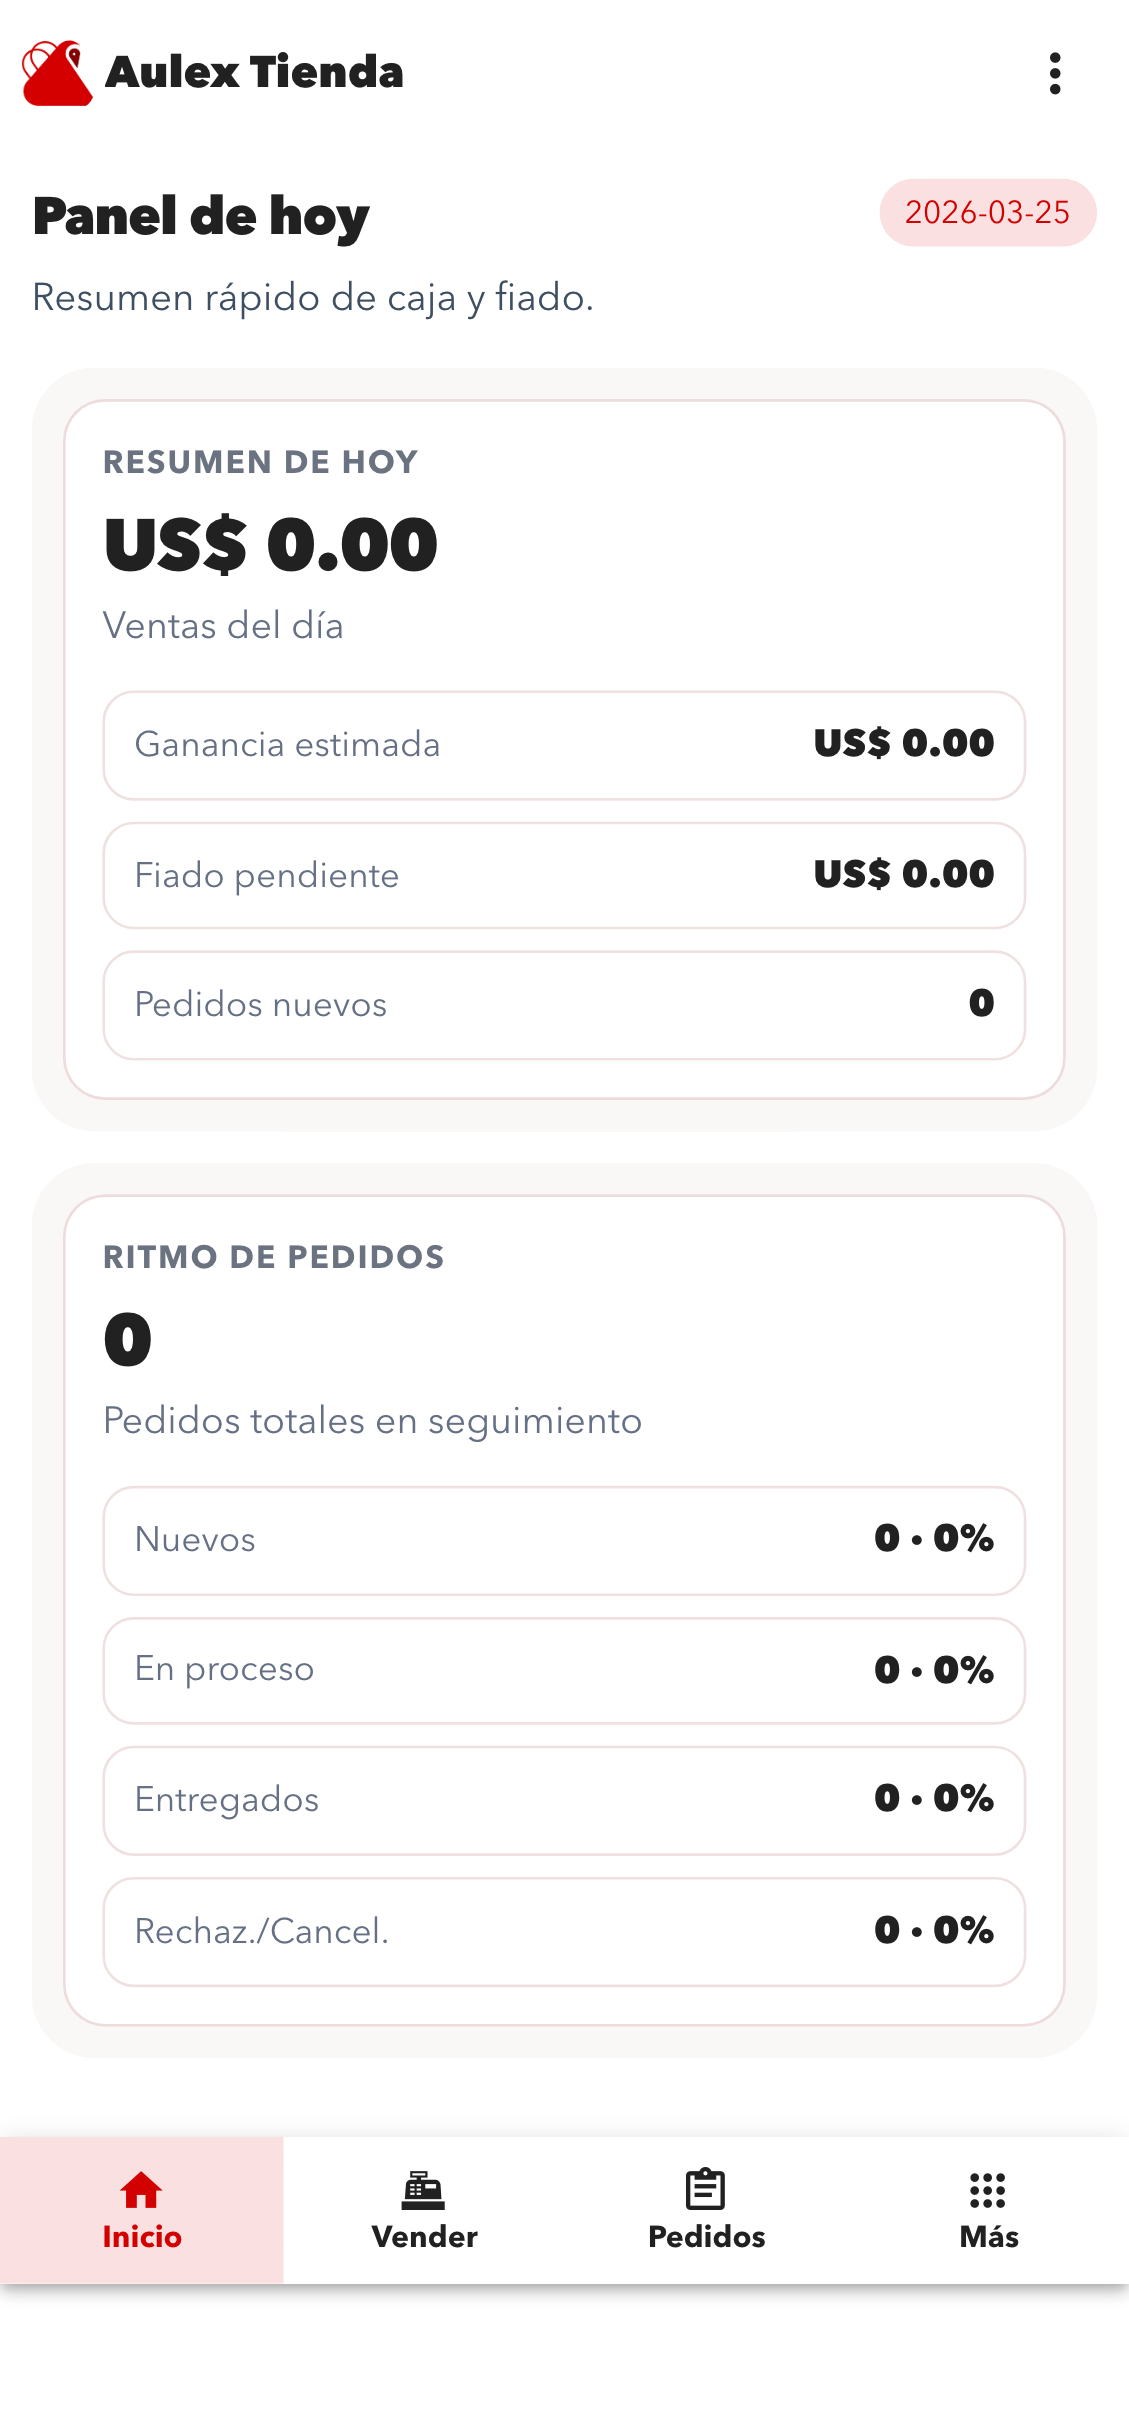
Main dashboard with daily indicators and bottom navigation for the store workflow. - 3
Open Sell and locate the product
The Sell screen shows available products with price and quick quantity controls.
- Use the search field to filter products by name.
- Each card shows the price and quick controls to add or remove units.
- The scan icon in the search field opens the camera-based scanner.
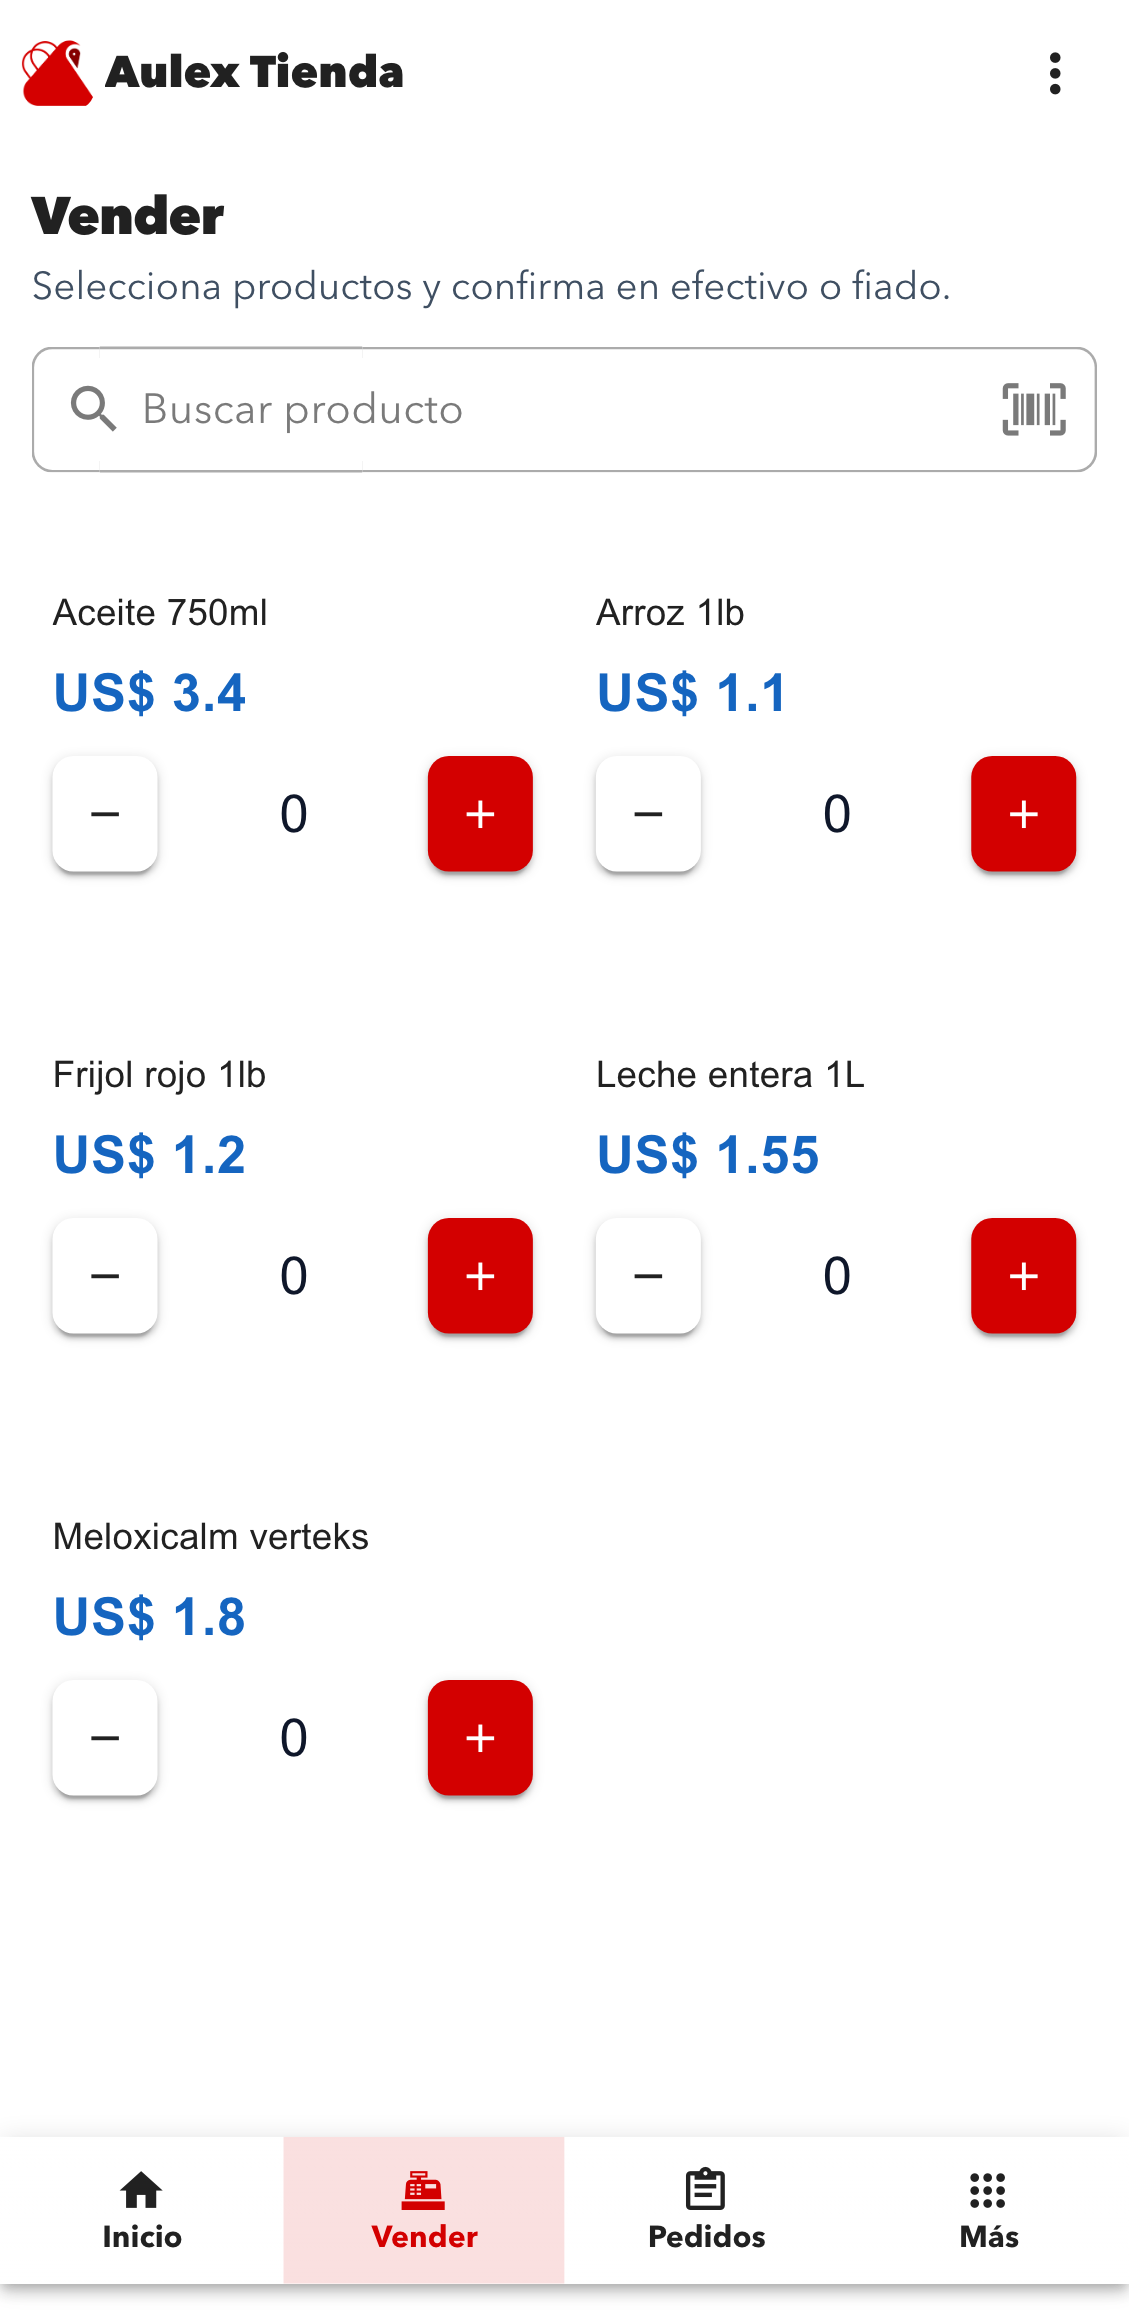
Sell view with search, product cards, and quick quantity actions before sending items to checkout. - 4
Set the exact quantity before charging
When you need to sell several units, tap the quantity area to open the quick quantity dialog.
- Use minus and plus to change the quantity.
- The +1, +2, +5, and +10 shortcuts speed up repeated sales.
- The app shows the available limit so the local cart does not exceed stock.
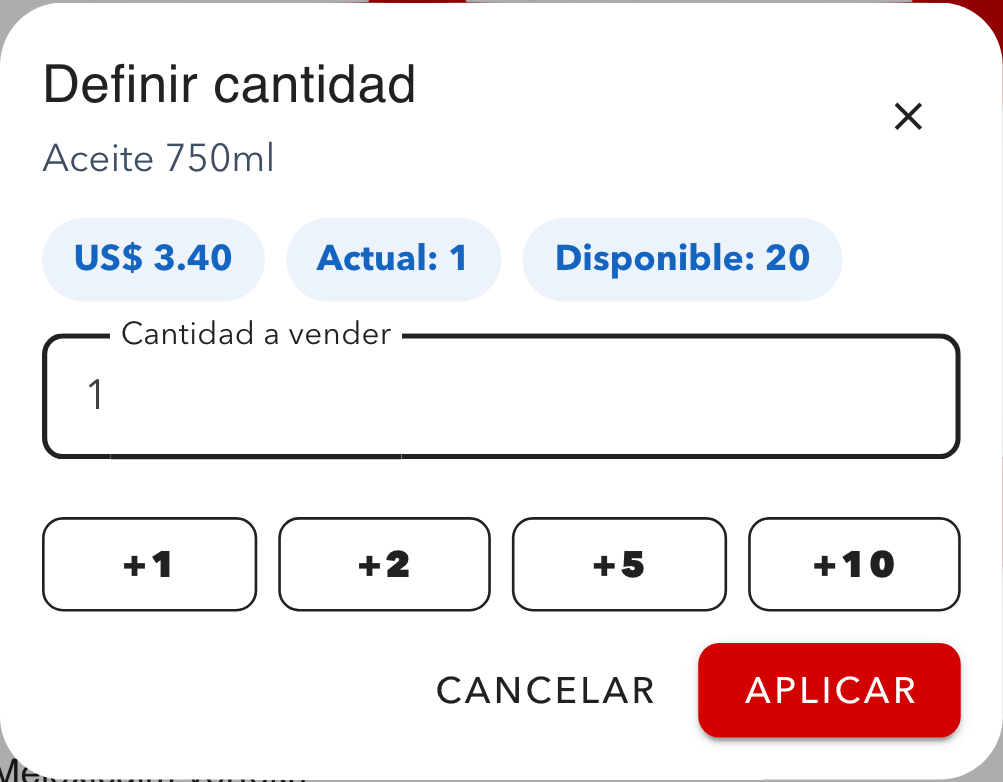
Quantity dialog with current amount, quick presets, and save action before the product is added to checkout. - 5
Review the sale summary and confirm
When the cart has items, tap the sticky bottom bar to open the final sale summary.
- The summary lists each product, quantity, and line total.
- You can verify the payment method before saving.
- Confirm only after the basket matches what the customer is taking.

Sale confirmation view with the full checkout summary ready to be saved in store history. - 6
Scan product codes for faster checkout
The code reader opens a simplified camera flow for quick sales and also offers manual code entry when needed.
- Point the barcode or QR code inside the center frame.
- If the product exists, the app moves into the quantity flow.
- If the camera is unavailable, use the manual input instead.
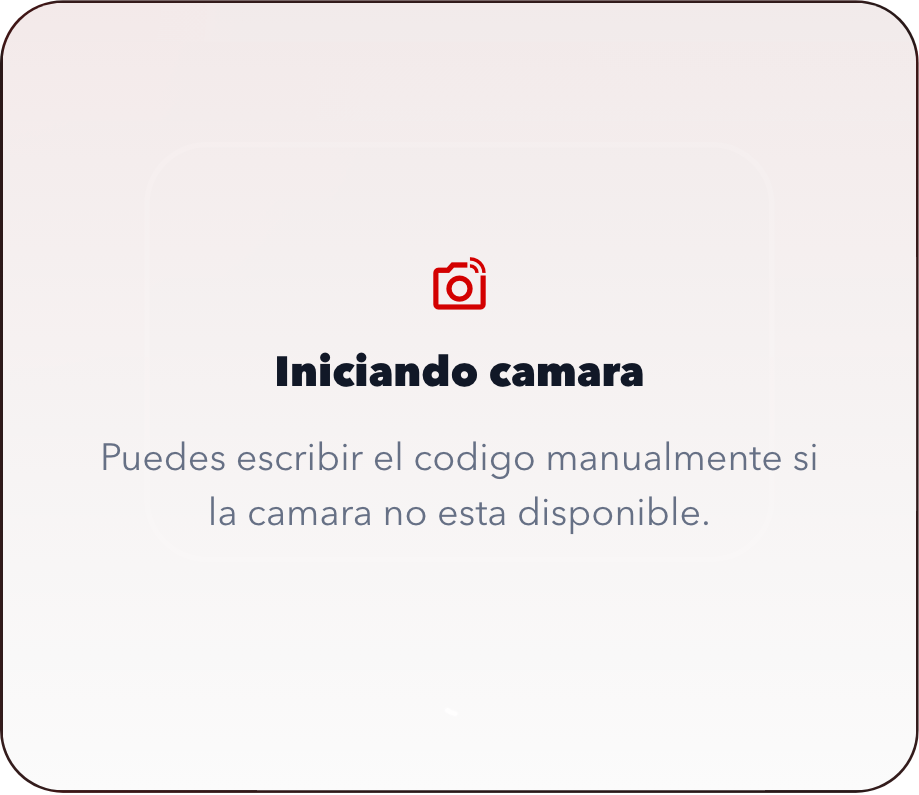
Scanner dialog with camera preview and manual code fallback for product lookup. - 7
Open Inventory and find the item
The Inventory screen brings together stock, pricing, and quick actions for each product.
- Use the search field to find products by name or code.
- Each card shows stock, sale price, and cost.
- From here you can edit product data or open a stock adjustment.
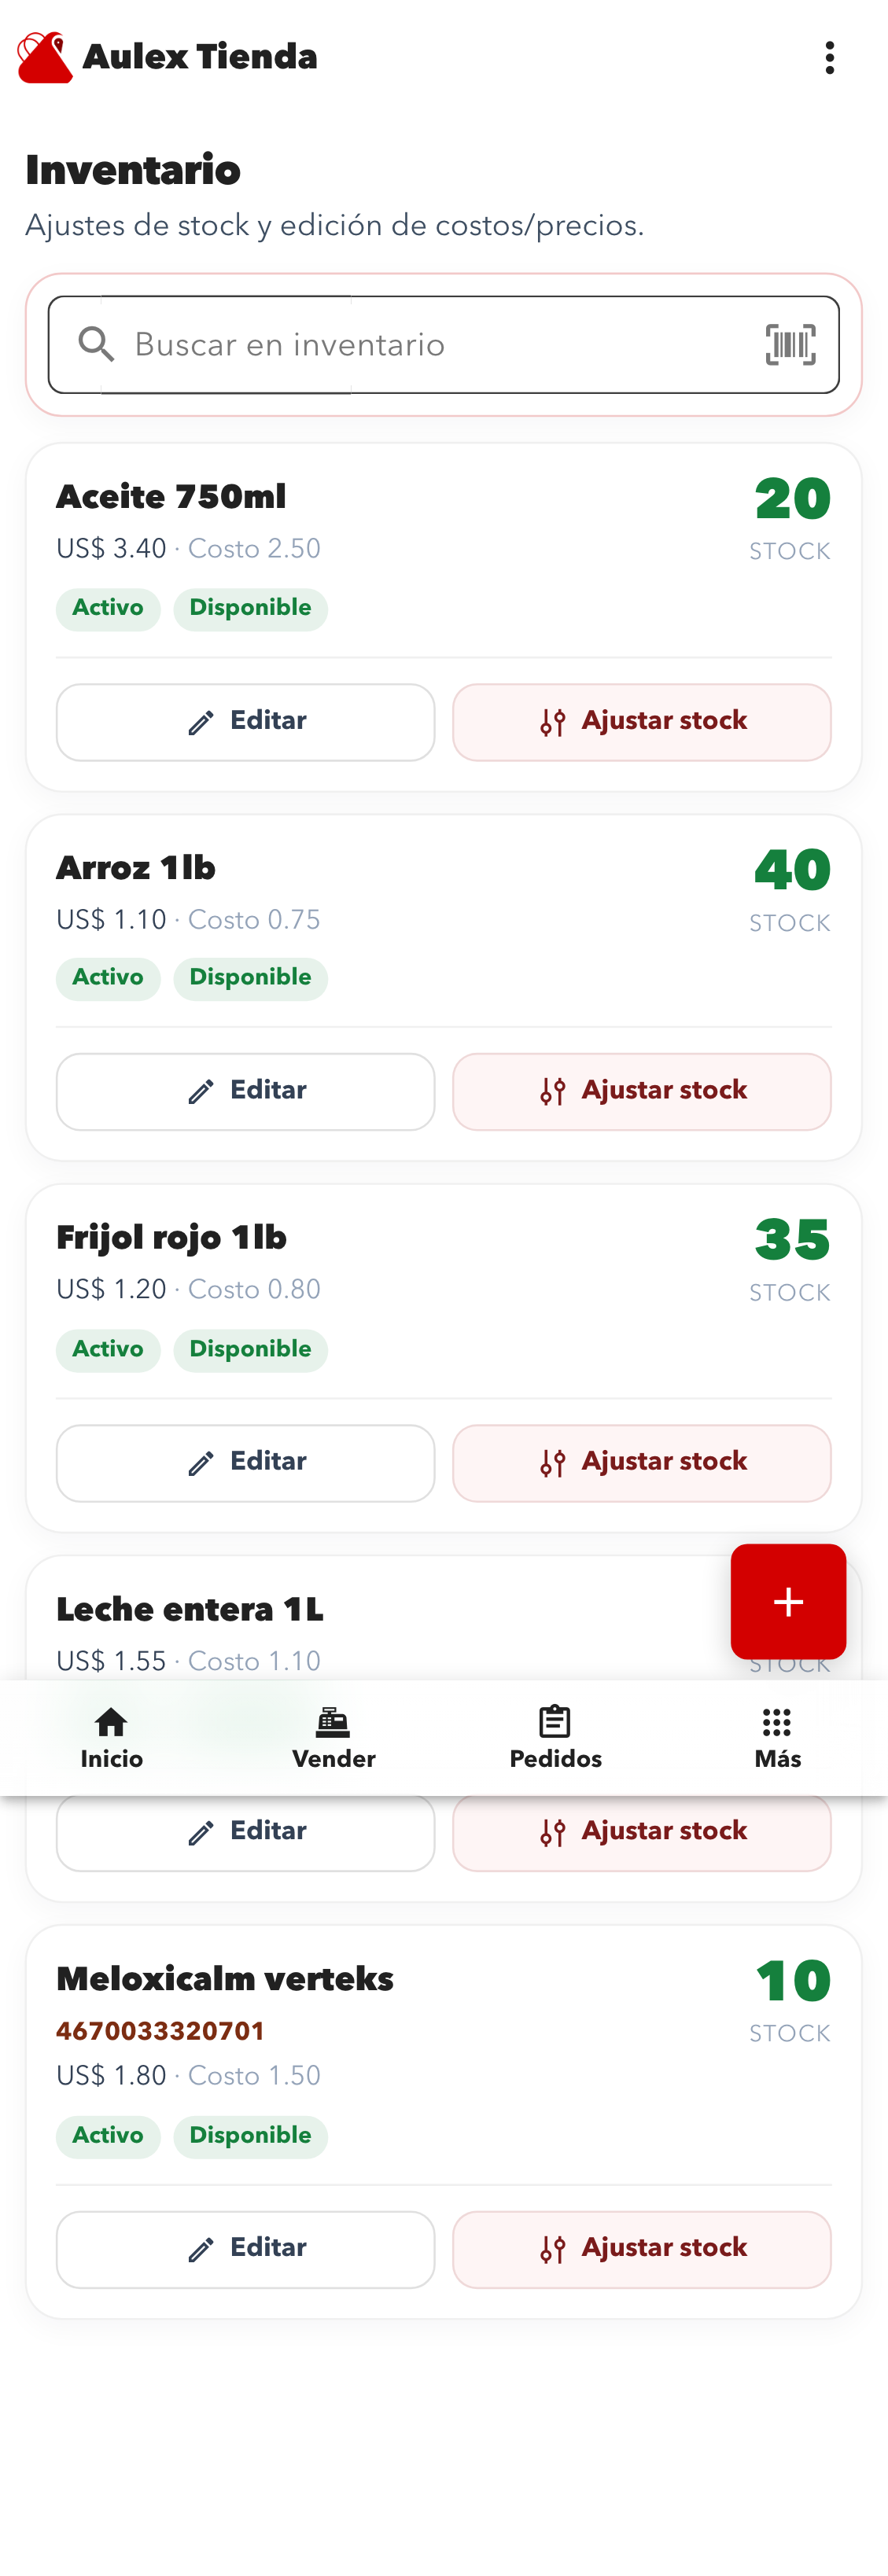
Inventory screen with product cards, stock indicator, and actions to edit or adjust stock. - 8
Register a stock adjustment step by step
The stock adjustment dialog is used to add, remove, or set inventory with a result preview before saving.
- Choose whether to add, remove, or set an exact quantity.
- Change the amount with the minus and plus controls or quick presets.
- Review the resulting stock and add a note if the adjustment needs context.
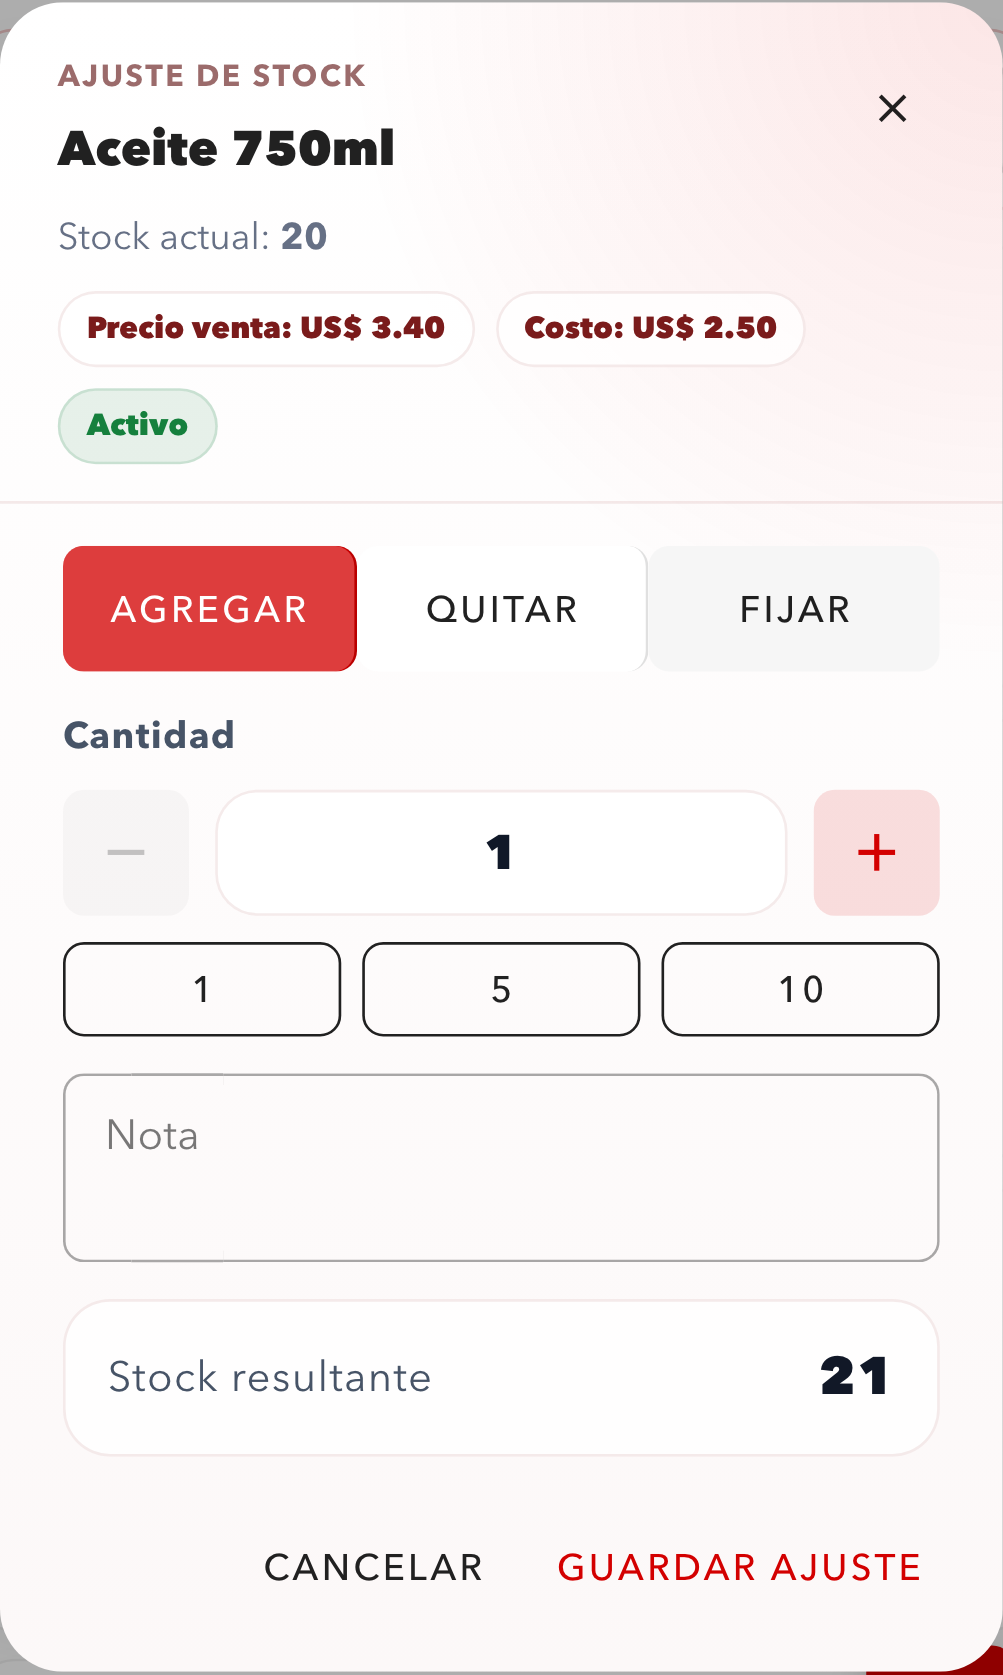
Stock adjustment dialog with mode selector, amount stepper, note field, and resulting stock preview. - 9
Review daily sales and export the report
The daily sales screen helps staff review recent transactions, totals, and exports.
- Select the date from the field at the top.
- Use the header actions to refresh or export CSV.
- Each sale card summarizes the amount, tags, and access to extra details.
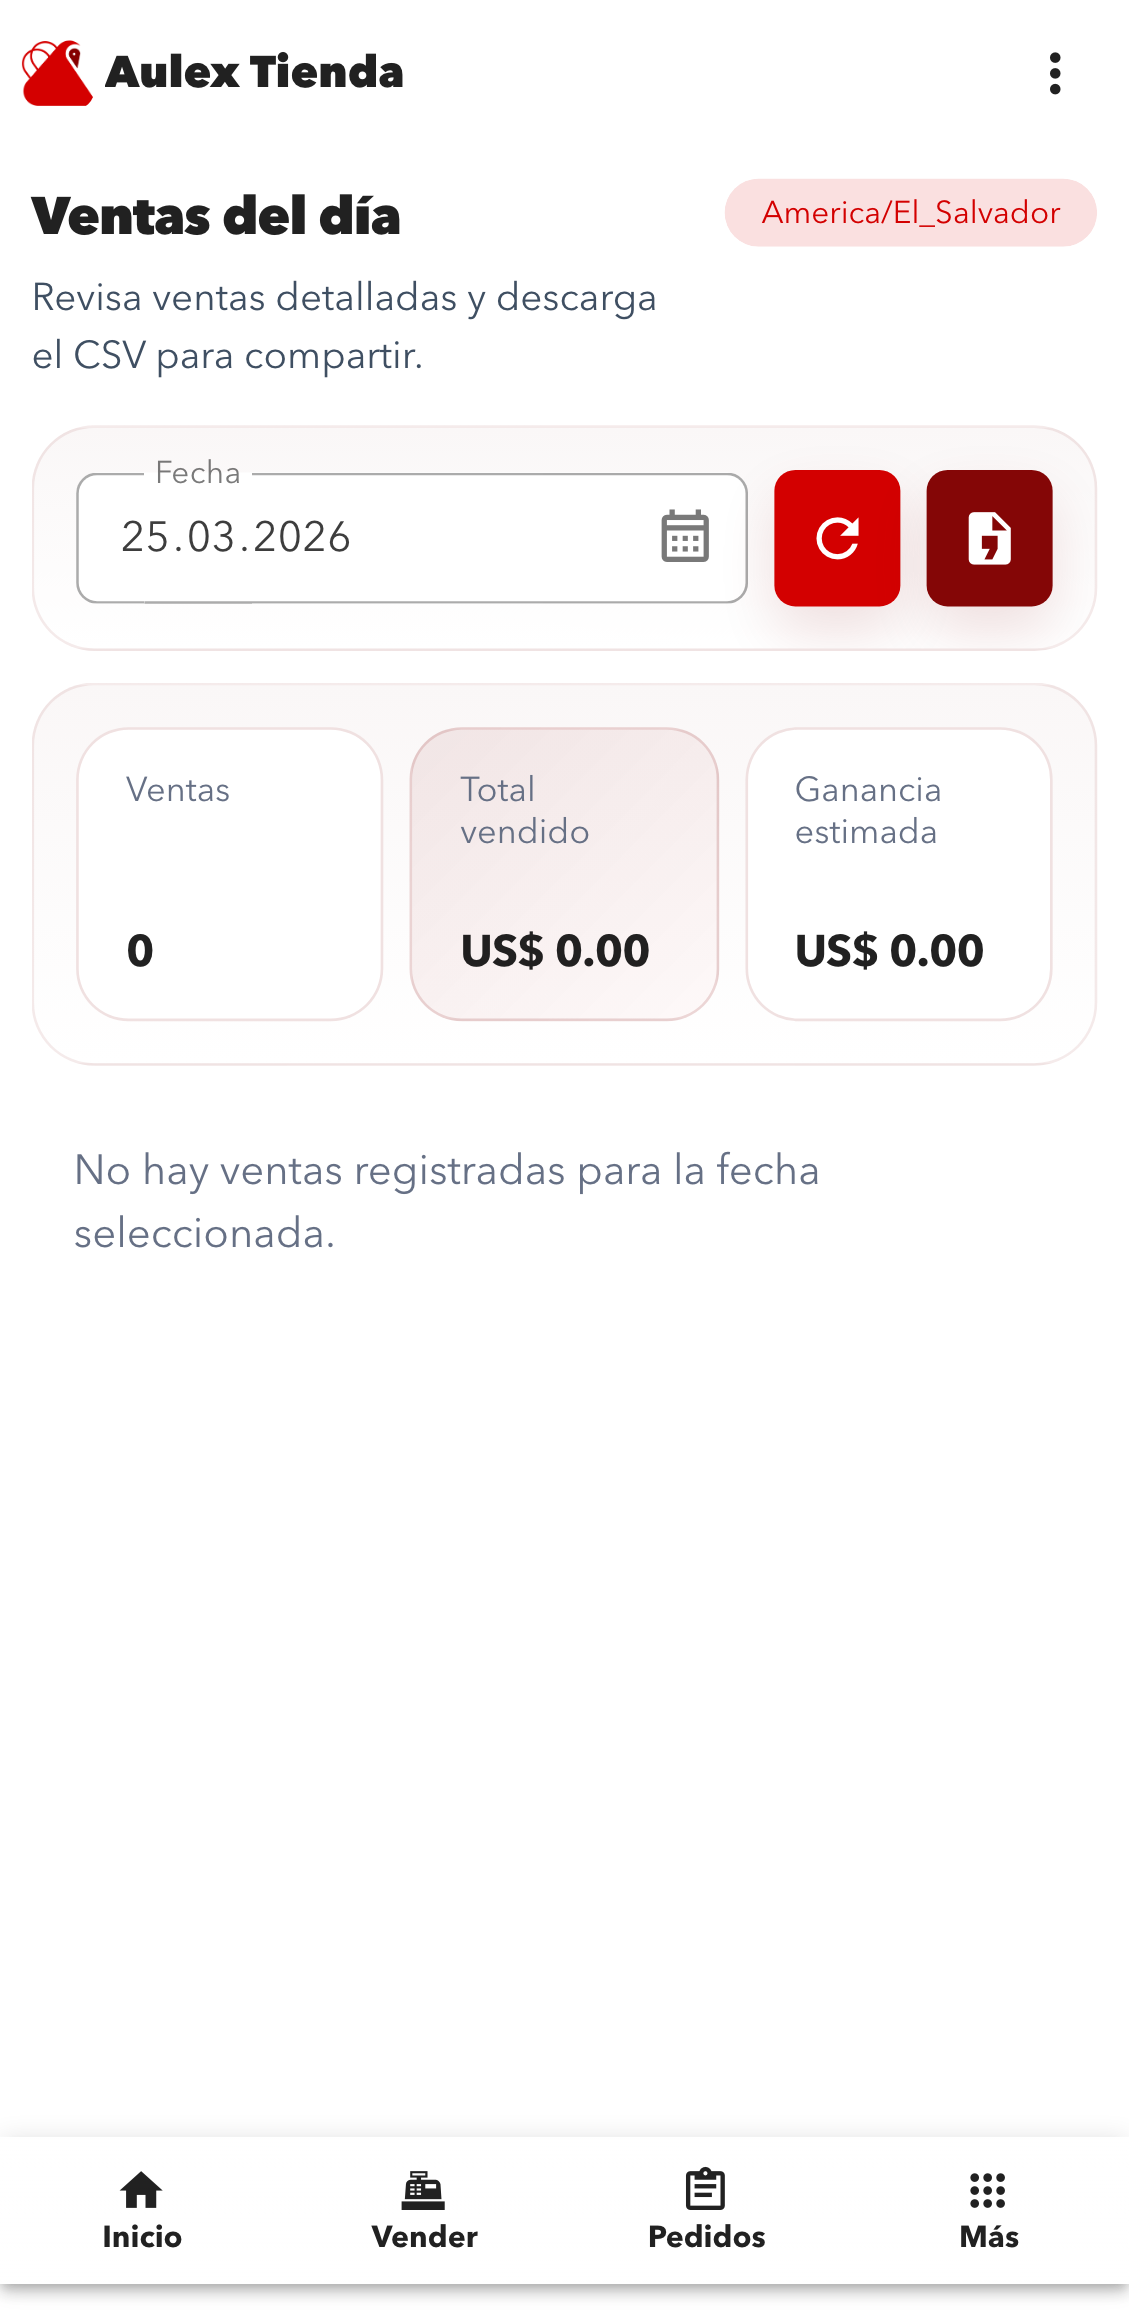
Daily sales screen with date filter, summary metrics, and the list of recorded transactions.
Aulex Customer manual
For customers who browse stores and place orders.
- 1
Choose a store from the start screen
The customer begins by selecting which store they want to browse.
- Use the search field to filter by name or zone.
- If a shop is online-only, the card makes that clear.
- Tapping a store opens its catalog immediately.
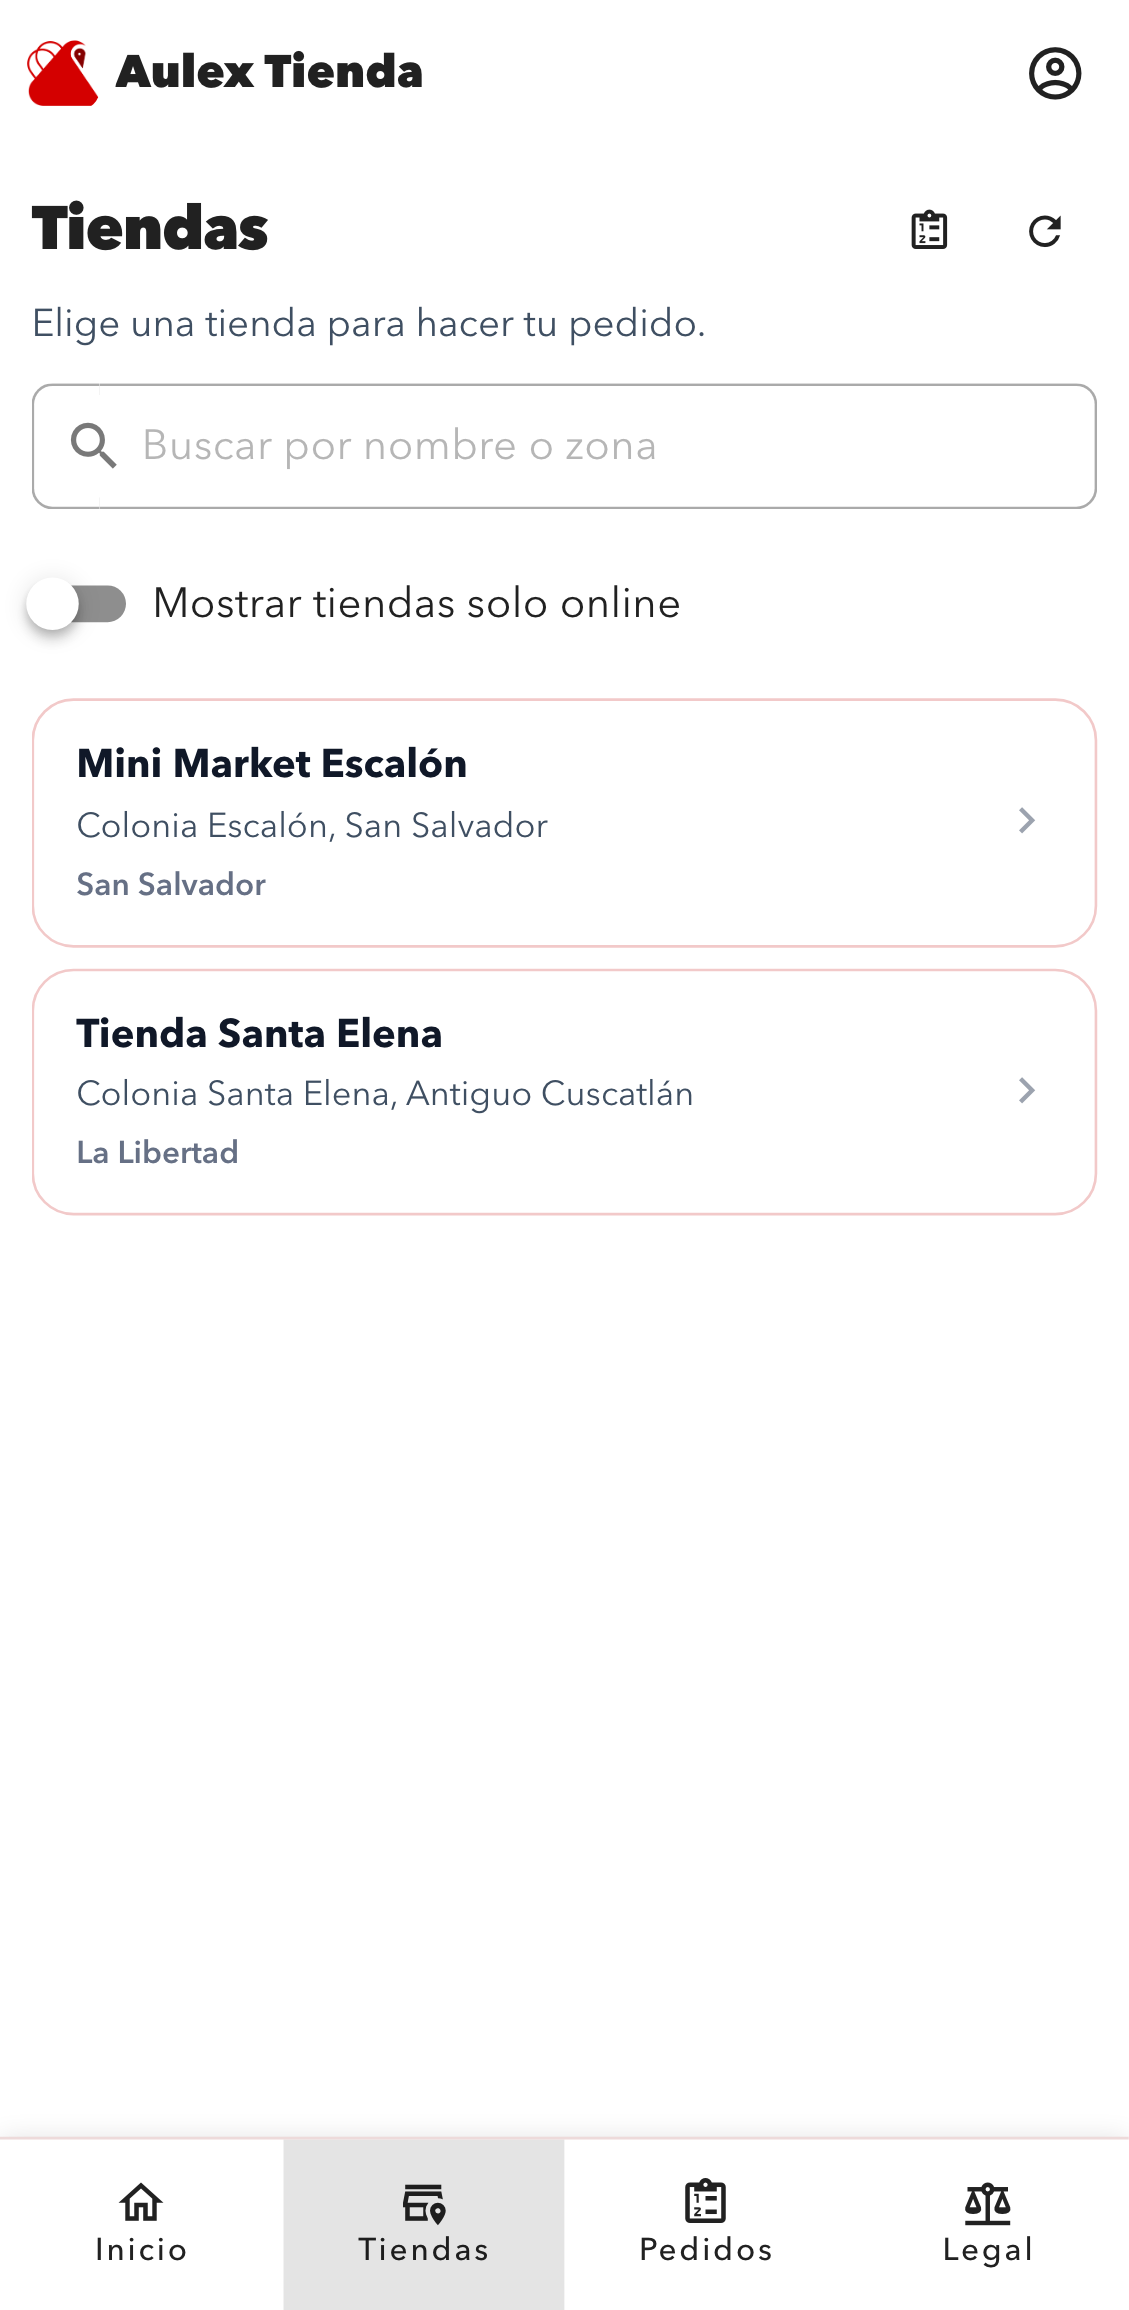
Initial Aulex Customer screen showing the available stores ready to browse. - 2
Browse the catalog and review prices
Inside the shop, the customer can check the catalog before building the order.
- Each card shows the product name and price.
- The search box filters items inside the current store.
- Out-of-stock products are separated from the main list.
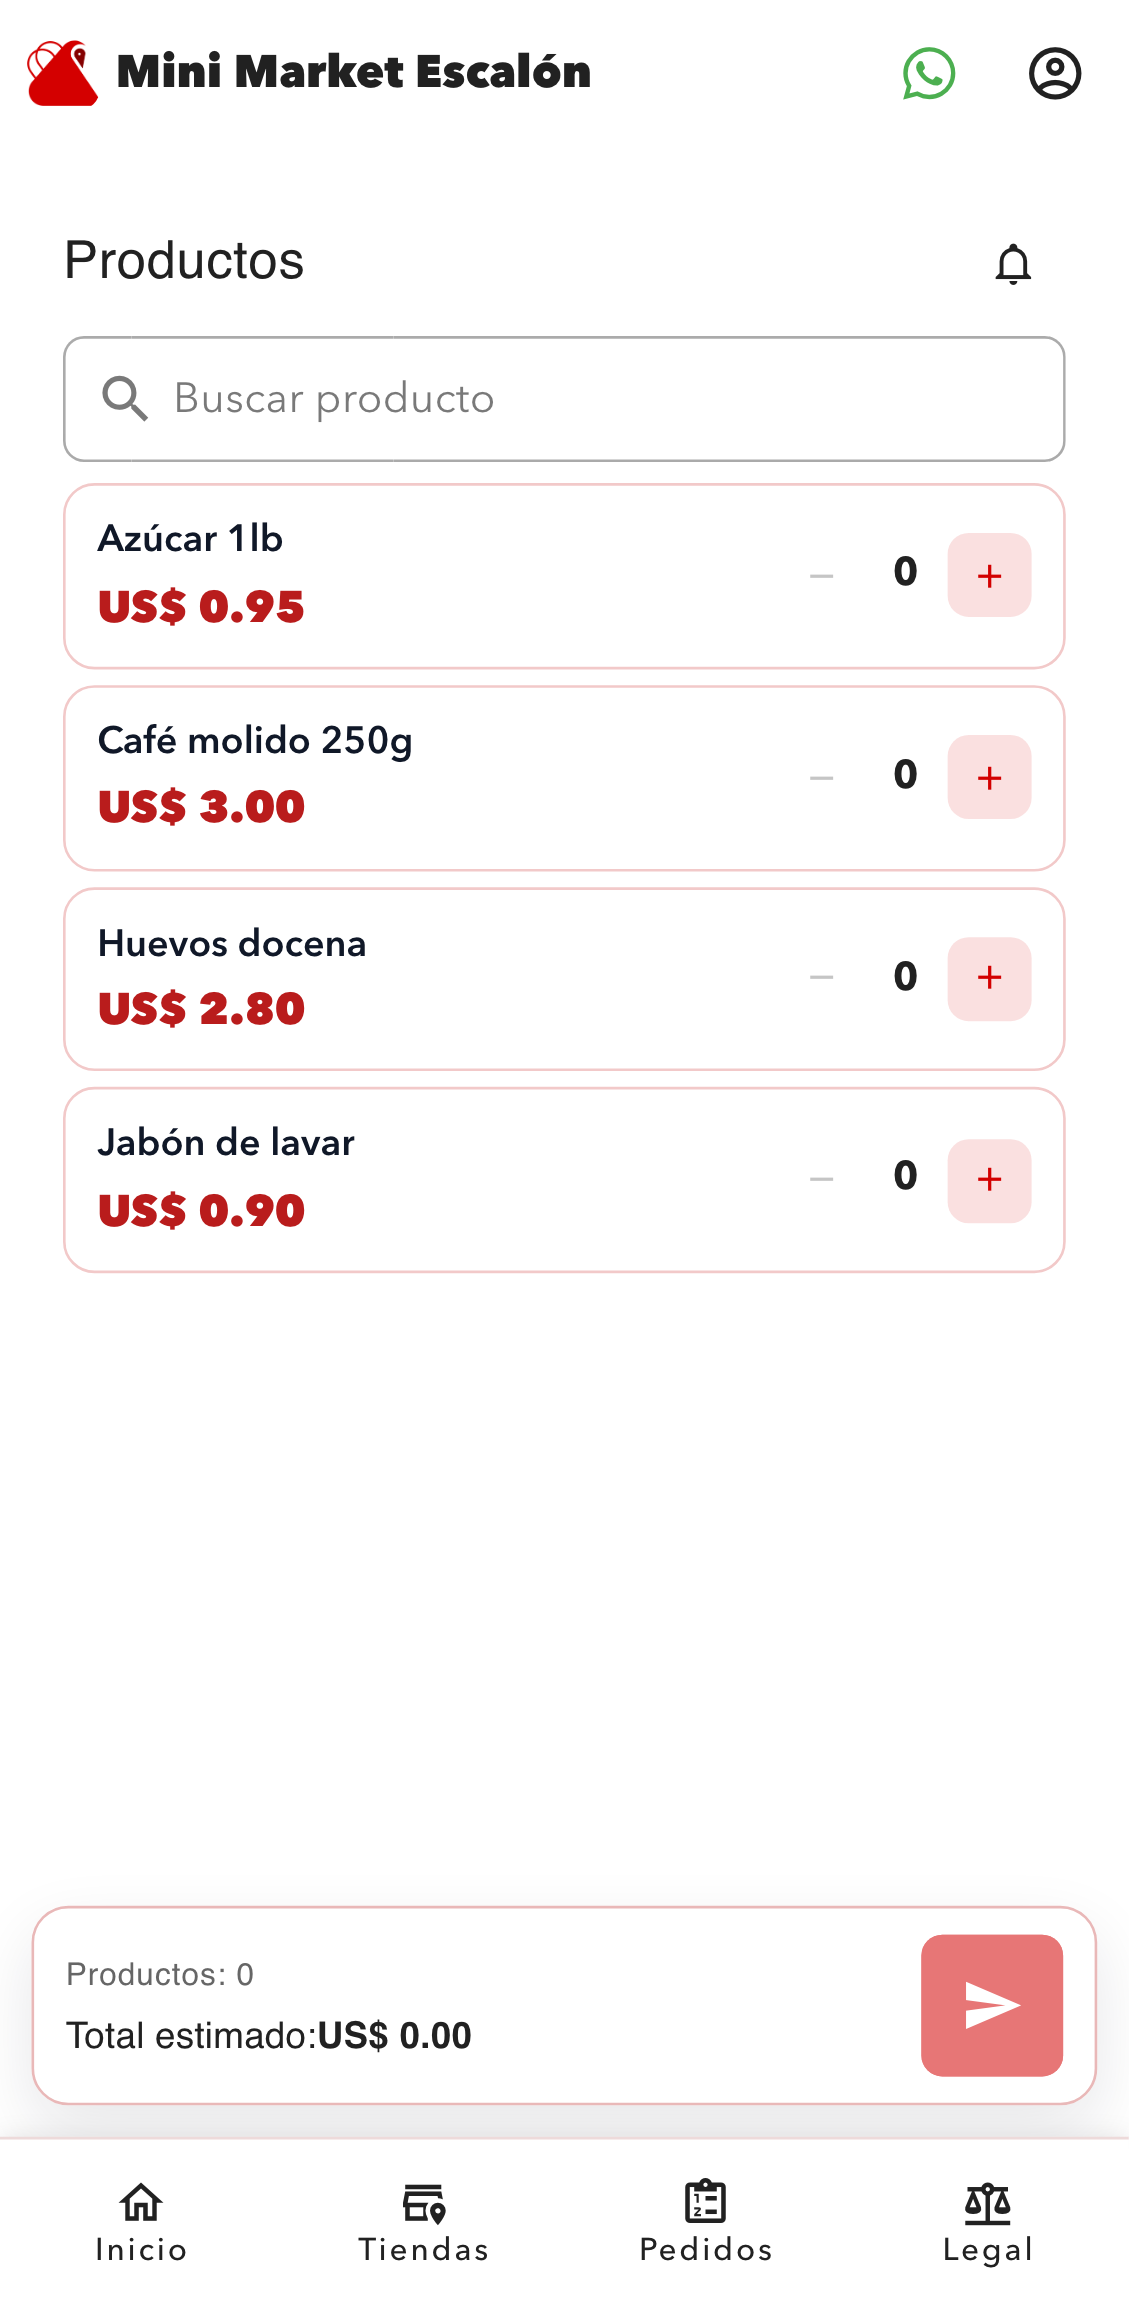
Store catalog view with search, product list, and quick add buttons. - 3
Build the cart before checkout
The order counter updates immediately as items are added.
- Use the plus and minus controls to change quantities.
- The sticky bar shows how many products are selected.
- When ready, use the send button to move to checkout.
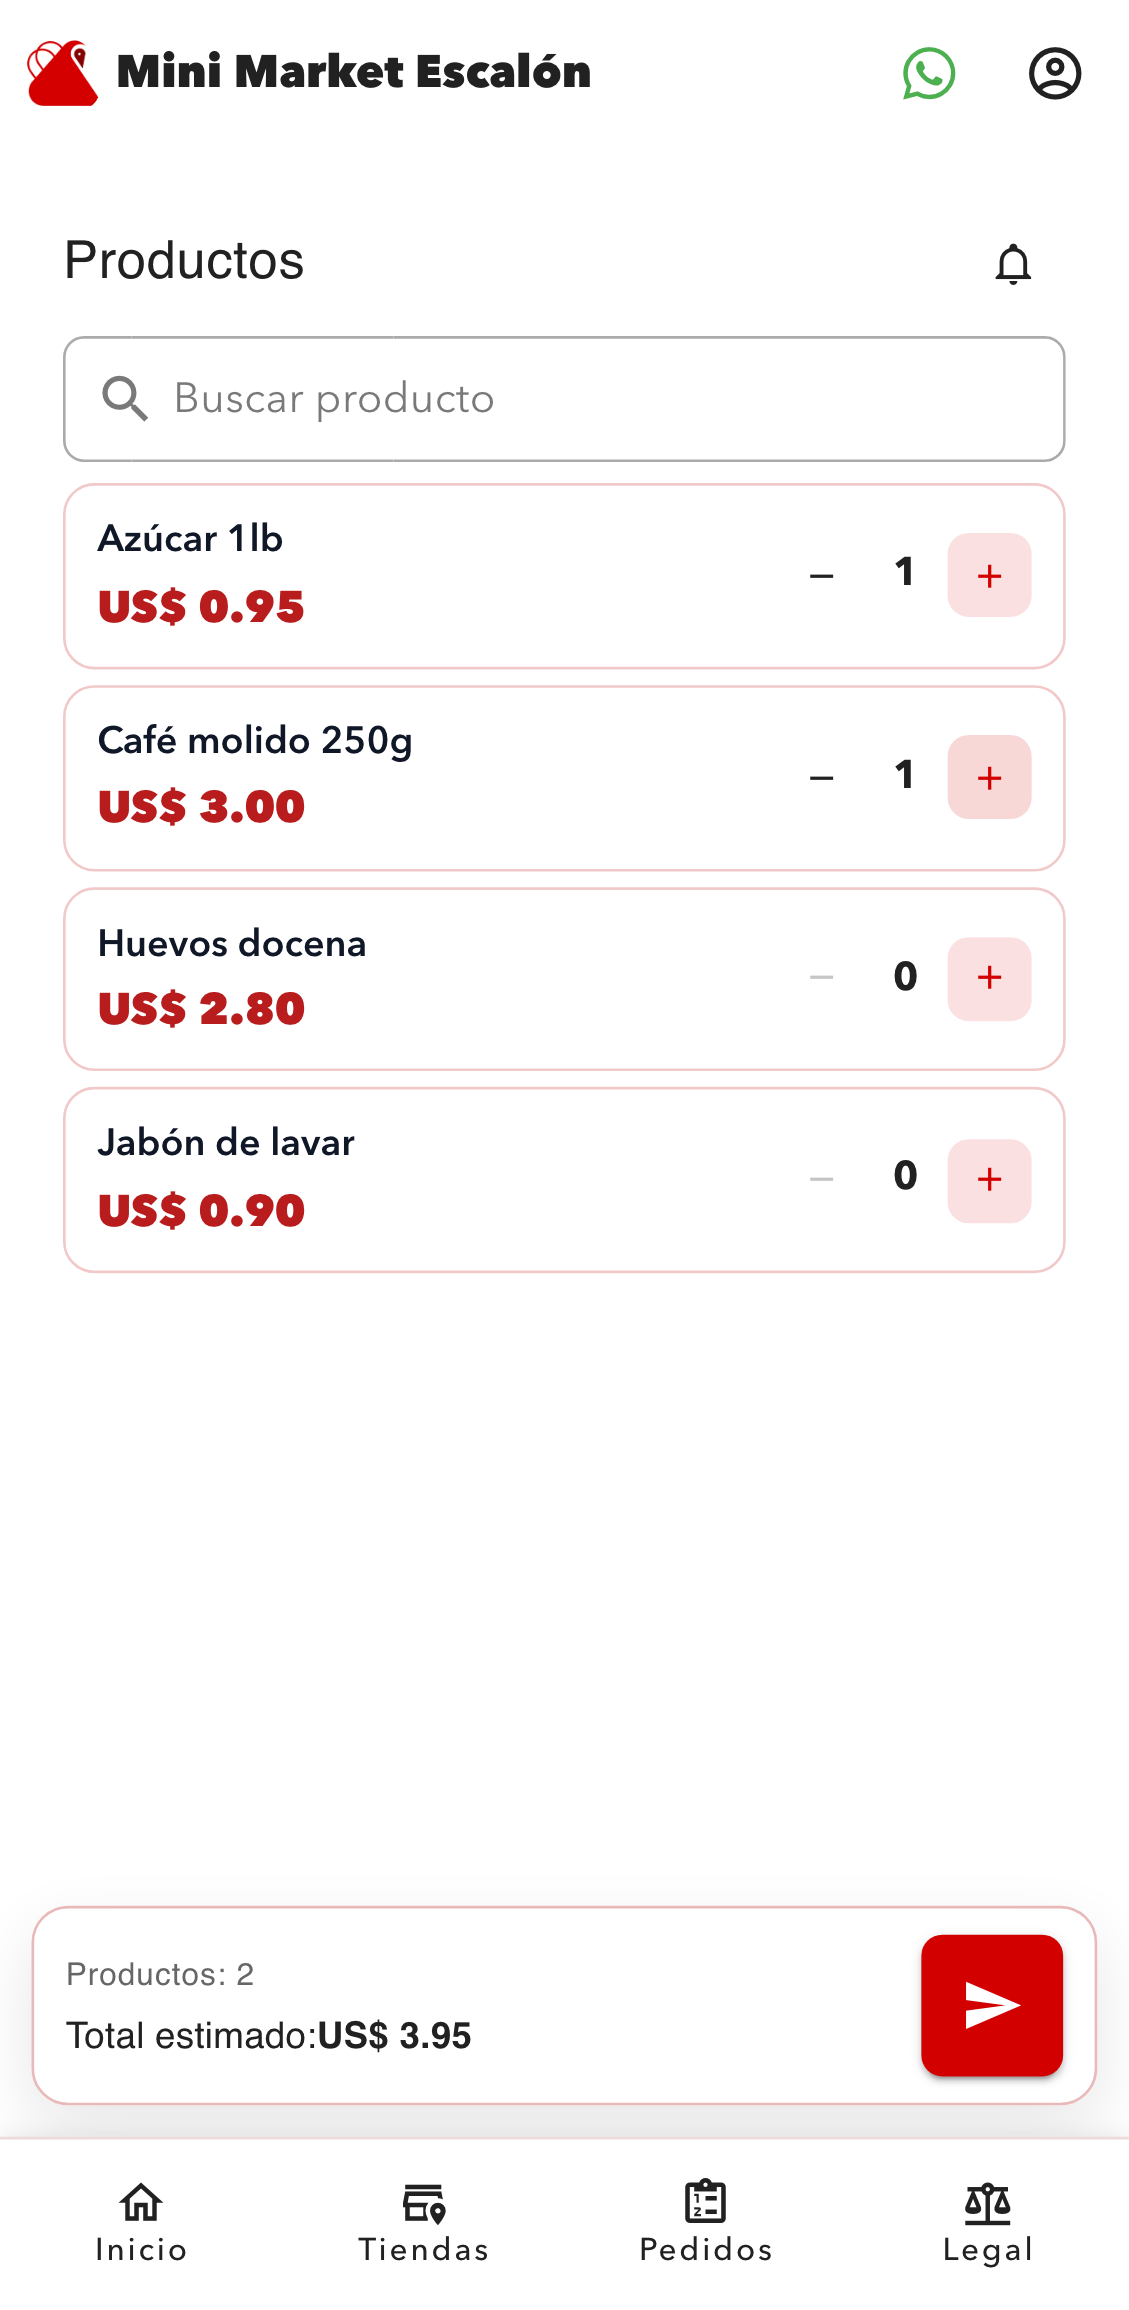
Catalog screen with selected products and the sticky order action ready for checkout. - 4
Fill in the checkout form
Checkout combines customer details, order summary, and legal acceptance before sending.
- Fill in name and phone so the store can contact the customer.
- Optionally leave a short note with delivery or preparation instructions.
- Accept the terms and privacy policy to enable the submit button.
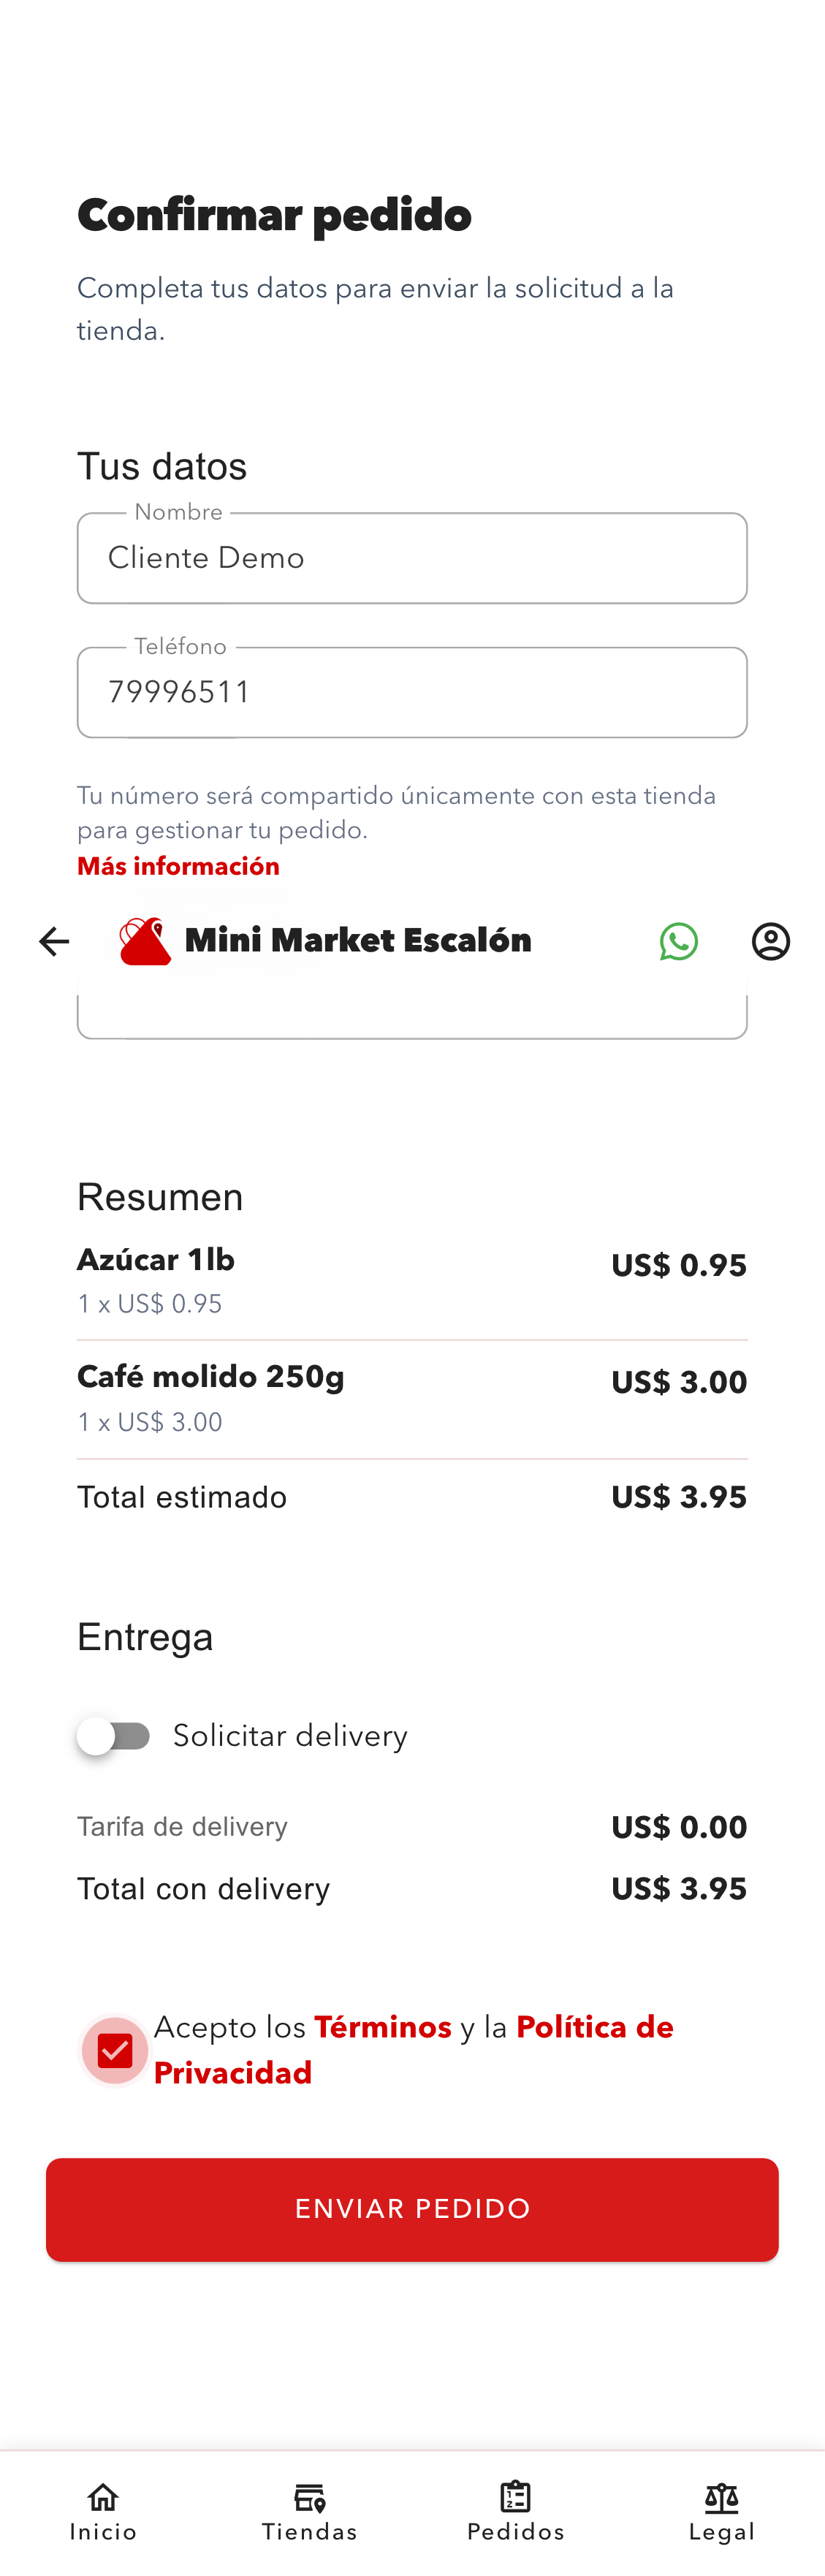
Final order form with customer data, product summary, delivery section, and legal acceptance. - 5
Save the request number after confirmation
Once the order is submitted, the confirmation screen shows the request identifier used for support and follow-up.
- The initial status usually appears as NEW or received.
- The request number is the most important reference for follow-up.
- From here, the customer can jump to order history.
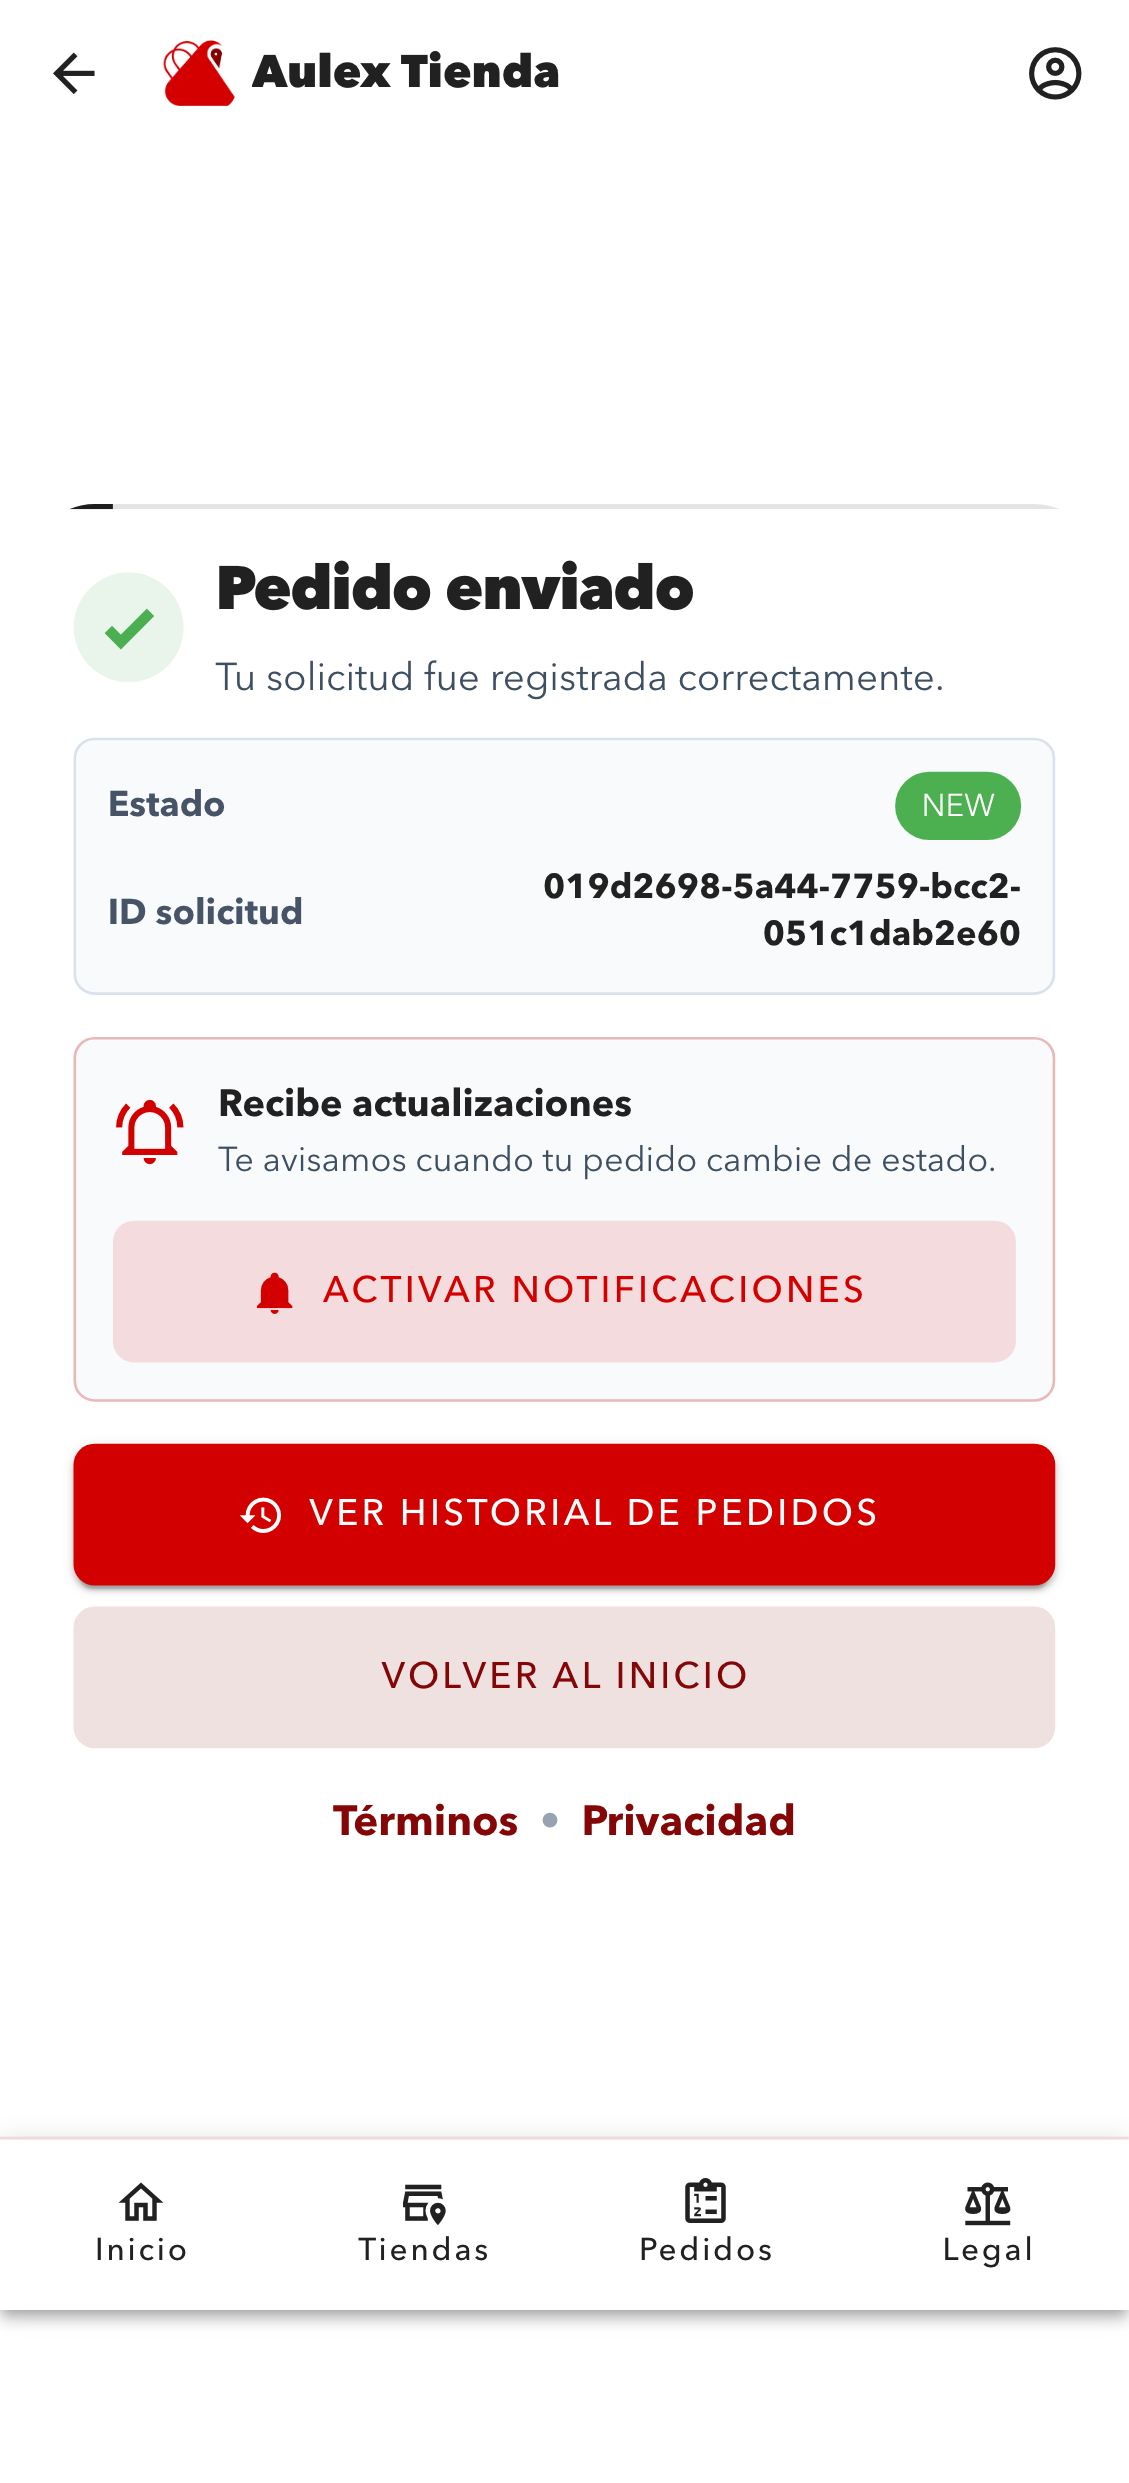
Confirmation screen showing the initial order status and the generated request identifier. - 6
Check the order status later
The status screen is used to verify whether the store has already received or updated the request.
- The app can prefill the most recent request id automatically.
- Use the status button to refresh the latest information.
- The result shows the current status and key timestamps of the order.
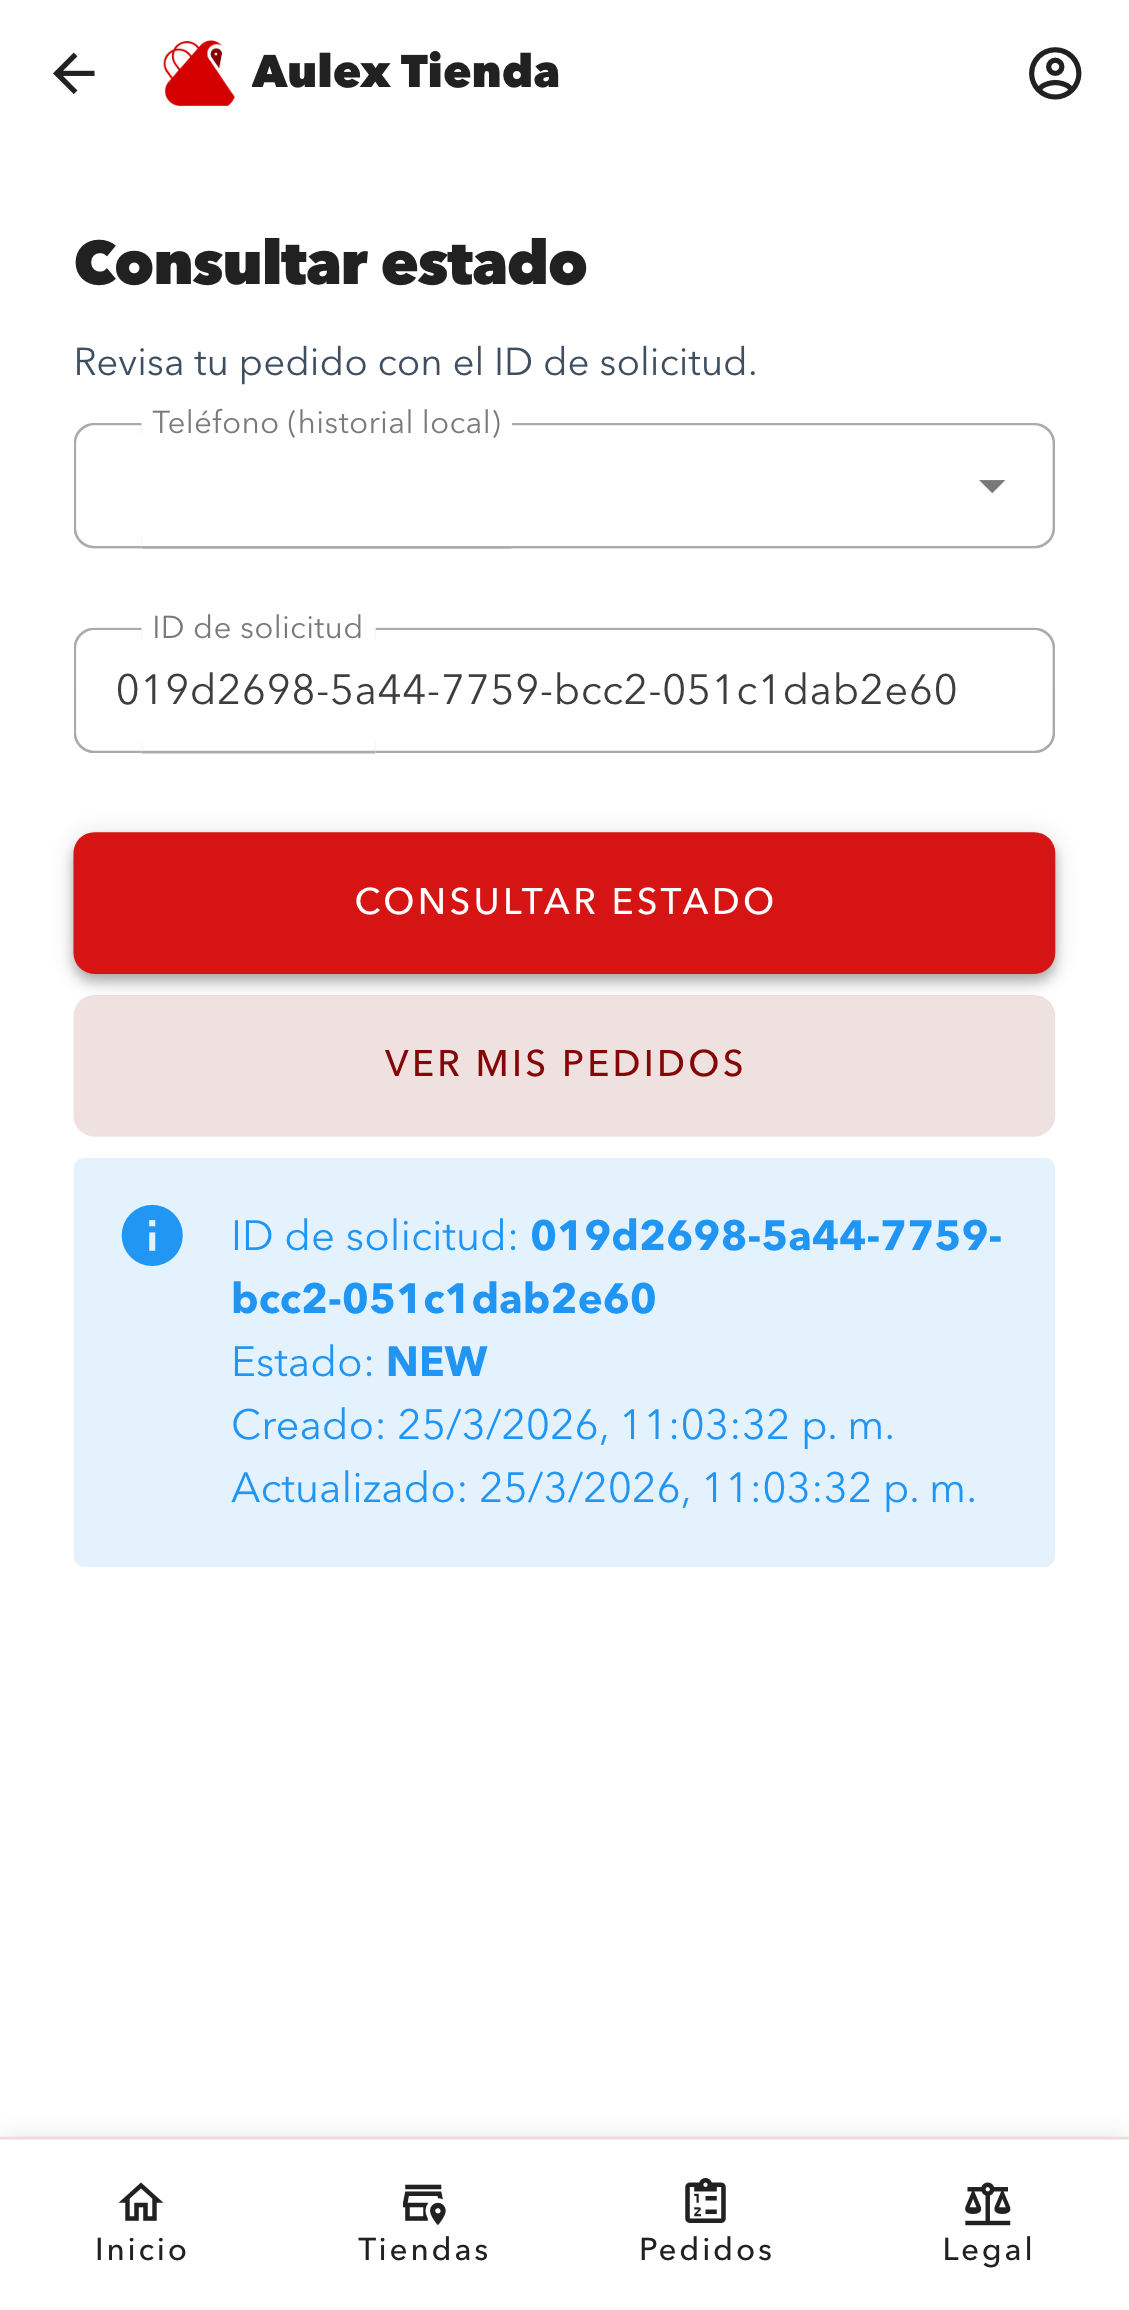
Status view with request id and current order state so the customer can track progress.